At A Glance
- Always get written consent from clients before sharing their photos.
- A clean, neutral background ensures the transformation remains the photo’s focus.
- Lighting and angles are essential for showcasing noticeable changes in a treatment area.
- To drive interest and bookings, before-and-after photos can be used across multiple platforms, such as social media, ads, websites, and email campaigns.
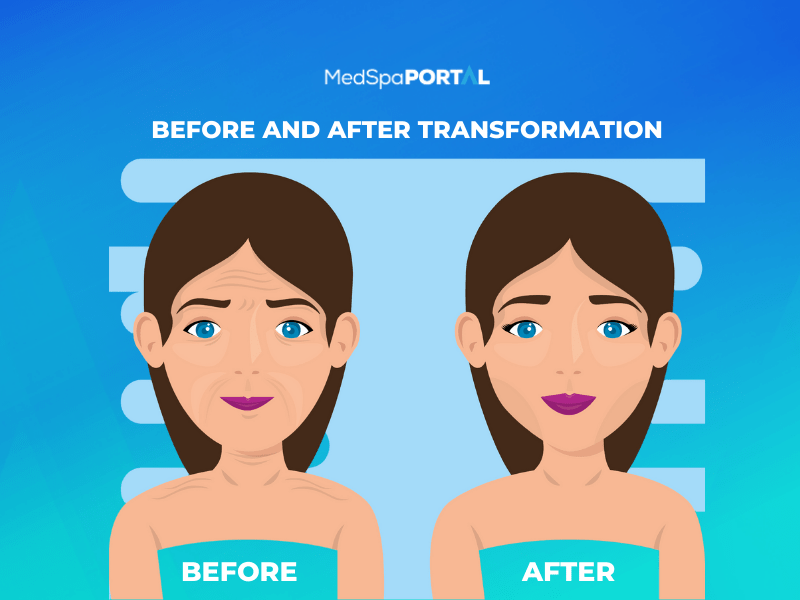
Before-and-after photos are a cornerstone of effective marketing for aesthetic practices. These images showcase the transformations you can achieve, giving potential clients a glimpse of your expertise. This guide will explore how to create, use, and optimize these photos to grow your business and connect with your audience.
The Importance of Before-and-After Photos
In the aesthetics industry, before-and-after photos go beyond aesthetics—they build trust. Clients often hesitate to commit to treatments without seeing proof of results, and these photos offer that reassurance. By showcasing your skills, you’re not just promoting services—you’re positioning yourself as an expert client can trust.
Before-and-after photos also serve as social proof, a powerful psychological trigger influencing decision-making. People want to see real examples of what they can achieve, and these photos validate that. When paired with strong testimonials, these images become even more convincing.
Tip 1: Consistency is Key
Consistency is the secret to creating professional and credible before-and-after photos. Every photo should have the same lighting, angles, and background to ensure an accurate comparison. This attention to detail highlights the transformation and communicates your commitment to quality.

Lighting
Good lighting can make or break the impact of your photos. Use natural light whenever possible, as it creates a soft, even glow that highlights the treatment area. If natural light isn’t an option, invest in professional lighting equipment to ensure every image looks polished.
Angles
Choose a standard angle for your photos and stick with it. Whether it’s a front-facing shot or a profile view, consistency in angles helps potential clients see the results. Mark the camera position or use a tripod to maintain uniformity for best results.
Background
A clutter-free, neutral background keeps the focus on your subject. Choose a backdrop in soft, muted tones to create a clean and professional look. You can experiment with seasonal accents for variety, but ensure they remain subtle and don’t distract from the transformation.
Editing
Minimal editing is best to maintain authenticity. Avoid heavy filters or retouching that could mislead potential clients. Genuine results resonate more with audiences and build long-term trust.
Equipment
Investing in a high-resolution camera or a smartphone with advanced photography features can elevate the quality of your photos. Clear, crisp images make your work stand out and attract more attention. Don’t overlook accessories like ring lights or tripods to enhance your setup.
Tip 2: Always Get the Client Consent
Before sharing any before-and-after photos, securing client consent is essential. Not only is it an ethical requirement, but it also demonstrates respect for your client’s privacy. A transparent consent process strengthens trust and fosters a positive client-practitioner relationship.

Written Consent
Always use a written consent form that outlines how the photos will be used. Include details about platforms, campaigns, and duration of use to avoid misunderstandings. Keeping a record of signed agreements protects both your practice and your clients.
Transparency Builds Trust
Explain to clients why their photos are valuable for showcasing your work. Highlight how their images can inspire others to leap into their transformations. Open communication about the process reassures clients and makes them more willing to participate.
Client Comfort
Some clients may feel hesitant about having their photos shared publicly. Be understanding and offer options, like cropped or anonymized images, to respect their privacy. A happy client is likelier to refer others, even if they prefer their photos to remain private.
Understanding Lighting and Angles
Lighting and angles aren’t just technical details—they’re the foundation of compelling before-and-after photos. Soft, natural light minimizes shadows and ensures the treatment area looks its best. Camera position and angles should highlight the most noticeable changes, clearly and honestly representing your results.
Maintaining uniformity is especially important for clients who undergo multi-step treatments. Ensure every session’s photos match the original angle and lighting to document the full transformation. This level of care makes your portfolio visually appealing and reliable.

Choosing the Right Background
The background of your photos can either enhance or detract from their impact. A clean, neutral backdrop ensures the transformation remains the focus. Opt for soft, solid colors that complement the subject without overwhelming the image.
Consistency in your background creates a polished, professional portfolio. If you want to add some creativity, incorporate subtle seasonal details like a small flower arrangement or decorative accents. Just ensure they don’t steal attention from the client’s results.
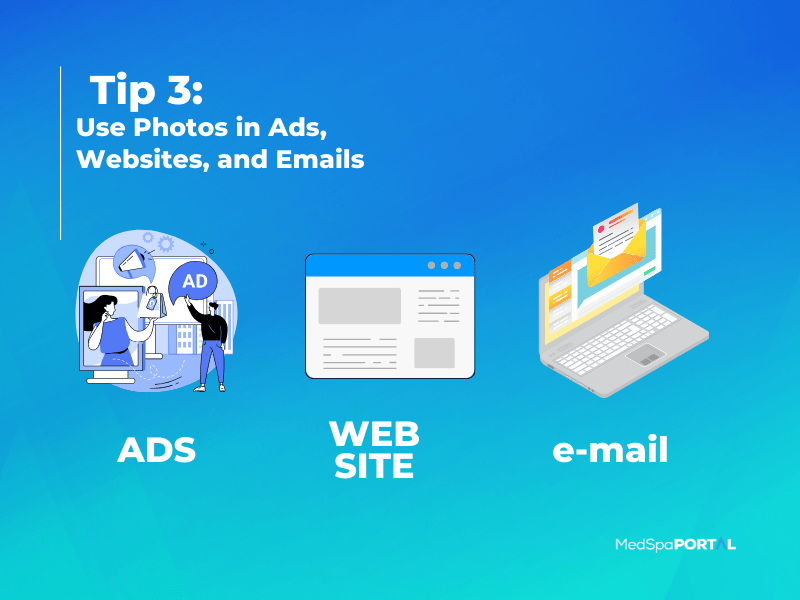
Tip 3: Use Photos Across Multiple Platforms
Before-and-after photos have the potential to captivate audiences across various platforms. They can transform your social media feed, website, email campaigns, and paid ads into powerful client acquisition tools. Strategically integrating these visuals ensures maximum visibility and impact.
Social Media
Platforms like Instagram and Facebook are perfect for showcasing your results. Use these images to create posts, Stories, and even Reels, tagging clients (with consent) to increase visibility. Engage with your followers by sharing treatment details or answering questions in the comments.
Advertising
Before-and-after photos make ads more relatable and persuasive. Use them in carousel ads to display multiple results or in video formats to show transformations in motion. Pair these visuals with a compelling call to action to drive inquiries and bookings.
Website
Your website should have a dedicated gallery for before-and-after photos. Include captions that describe the treatment, timeframe, and client feedback to add depth. Don’t forget to optimize these images with keywords to improve search engine rankings and drive traffic.
Email Campaign Strategies
Incorporating before-and-after photos into email campaigns keeps your audience engaged. Highlight recent transformations in newsletters to maintain interest and spark curiosity about your services. Segment your email list to personalize content, ensuring each client receives relevant and relatable visuals.
Special promotions featuring these photos can drive bookings for specific treatments. For example, showing a dramatic skin rejuvenation result could inspire clients to take advantage of a limited-time offer. Regular updates with fresh transformations keep your practice at the forefront of your mind for future visits.

Building Trust with Potential Clients
Before-and-after photos are one of the most effective ways to build trust in your practice. Authentic, unedited images show clients what’s possible and set realistic expectations. Pairing these visuals with testimonials or video reviews creates an even stronger sense of credibility.
Social media engagement also plays a vital role in building trust. Respond to comments, answer questions, and interact with followers interested in your posts. This level of interaction creates a sense of community and positions your med spa as approachable and reliable.
Conclusion: Start Showcasing Your Results
Before-and-after photos are more than marketing tools—proof of your skill and dedication to client transformations. By sharing them consistently across multiple platforms, you’ll attract more clients, build trust, and position your practice as a leader in the industry. Now is the time to elevate your marketing strategy by capturing and showcasing your best work.

With these tips, you’ll create stunning visuals that inspire confidence and drive growth for your med spa. Start today and watch these photos turn curious prospects into loyal clients eager to experience their transformations.